

Improving an early Graham Farish Class 101 Diesel Multiple Unit
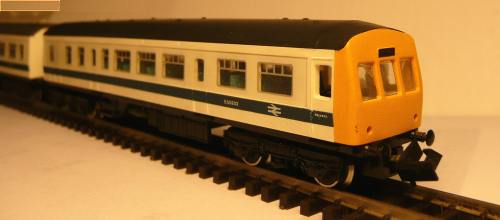
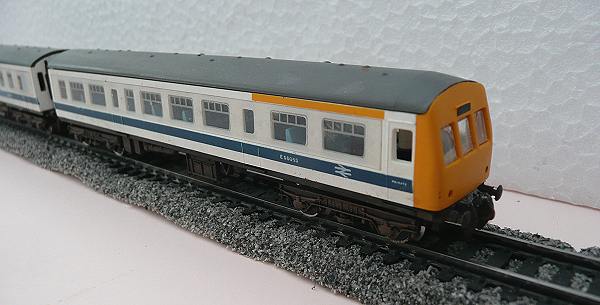
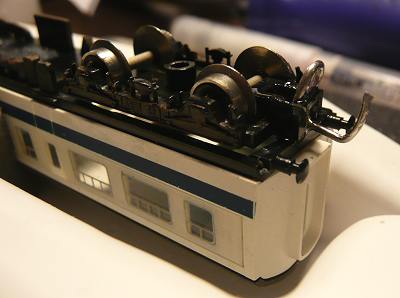
I quite like the old model as it looks about right. It has flush glazing on the sides and the distinctive driving cabs capture the appearance of the Metro-Cammell unit. Mine, in refurbished livery (white with blue stripe), had not been run for many years. Cleaning of the motor bogie mechanism and oiling resulted in it firing up. It then needed some running in. The brass gears were fine and the performance was then reasonable, although a little noisy (but then so is the prototype). It is not quite as good as modern models like the Bachmann Graham Farish class 108 or class 150. I was inspired by an article by Grahame Hedges in Model Rail 136 (October 2009) in which he improved his old class 101 with a class 108 chassis and described other improvements to the model to raise the standard. I felt mine ran well enough so that a replacement chassis was not justified but some of the disturbing features of the model could be put right.
The couplings
I intended running the unit as a short 2-car train and did not need coupling at either end so the ugly large Rapido coupling at either end could go. The couplings were removed and the coupling boxes at either end of the unit were cut off. Buffer details were added as described in a separate article.
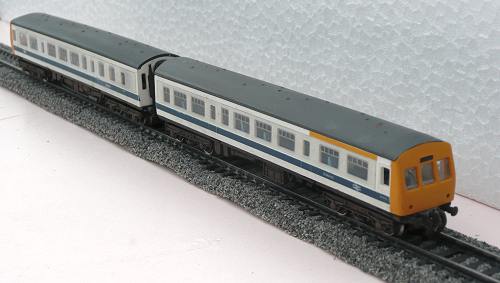
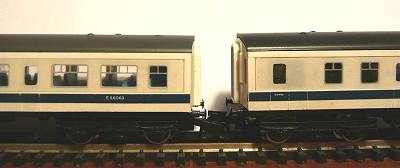
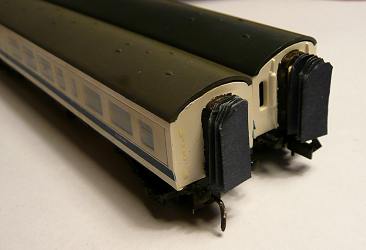
The large gap between coaches
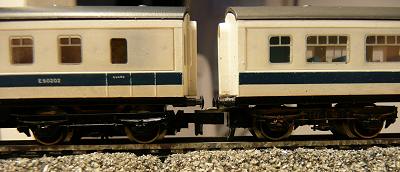
The original gap (above) and after modification (below).
The gap between the two coaches is excessive. I did some experimenting to see how much I could reduce the gap and still get it to go round 9" radius curves. Automatic coupling was unnecessary as the unit would always be run in that configuration. The final arrangement was to remove the coupling on the trailer coach and replace it with a hook which engaged with the original Rapido coupling in the power bogie. A paper clip was bent and cut to form a hook. Part of the original paper clip shape was retained to wedge the coupling in the coupling box while it was glued in place with epoxy. Once it had set, the "horns" from the paper clip below the coupling box were cut off. Subsequently this hook was painted matt black.
As can be seen above, the gap between the coaches is now much reduced.
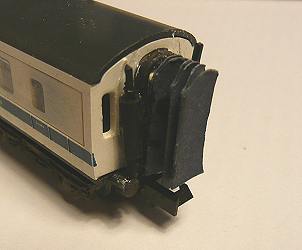
Gangway Connections
The original model has moulded gangway connections in white and, although we have brought the coaches closer together, there is still a considerable gap between these. A flexible gangway connection would be nice.
There are several approaches to gangway connections described on the internet and in magazines for 4 mm scale involving interleaved paper or folded paper to represent each side. I felt that in the smaller scale these would be difficult and a reasonable representation could be made with a single folded concertina in paper. I carried out some experiments with white paper (80 g/m2) to establish whether it would work and how much of the concertina would be needed. The ends were glued to pieces of mounting card cut to wedge in the existing moulded gangway connection. This showed that a single concertina between the two coaches was not a good idea as the bogie on the trailing car tended to lift off on the curves and would derail. Cutting the concertina in the middle allowed the two halves to move independently on the curves and would prevent this.
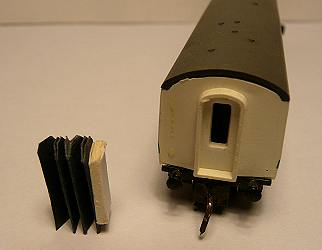
The final version was made in black. As I had no black paper, I used Microsoft Word to produce a text box with a black background and then printed this out on both sides of a normal piece of paper to give me a black area to make the connections. For each connection, a strip 15 x 42 mm was cut and folded at 6mm intervals to give 7 folds. It was glued to piece of mounting card cut to fit in the existing connection on the model. The top corners of the folded paper were cut off and, using an emery board, the top was rounded off.
The next stage was to paint the original gangway connections on the model matt black and, when dry, insert the concertina sections.

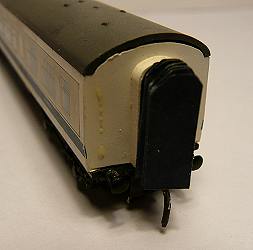
Completed gangway ends (above) and coupled together(below).
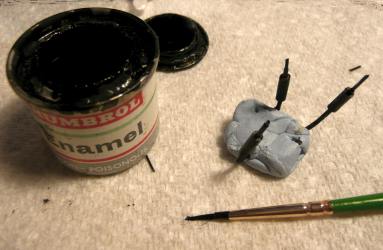
Exhaust Pipes
The original model has moulded on exhaust pipes which can be seen in the pictures above. They are in white which I am sure is not prototypical. They could be painted but I reckoned that my skills in painting would not result in a neat job. Grahame Hedges in his article in Model Rail 136 showed exhaust pipes made from wire and plastic rod. These were painted in steel finish for the tube and a rusty colour for the silencer. Most pictures of the 101 DMU on the internet do not help to see what colour the exhaust pipes are, but Oliver Ashmole has photographs of an operational DMU at Blackpool North and East Anglian Railway preserved class 101 at Railcar50 at the Severn Valley Railway, Kidderminster. Both photographs deliberately show the area between the coaches and the exhaust pipes appear to be black. I made mine from black coated paper clips with a sleeve of insulation from a piece of electrical wire for the silencer. These were painted matt black and glued with epoxy to the ends of the motor coach. The original moulded-on pipes were first scraped off with a knife and filed flat.
Weathering
The underframe and bogies were weathered by dry brushing with an earth-like colour (Nutmeg - a Wilkinsons Testpot). The "completed" DMU is shown below.